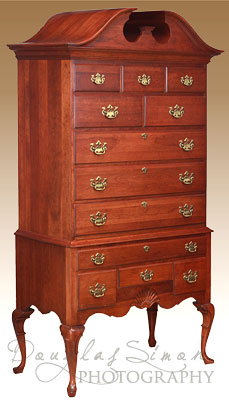
Furniture Photo

You’re wanting to photograph your new dining room table.  That lovely finish reflects your flash, ruining your shot.

You need to shoot without flash.  That means getting as much area light as you can, but that light needs to be the “same” light.  You don’t want your dining room curtains open letting in sunlight mixing with your fixture lights.  This results in mixing warm and cold light and the results are adverse. Close the curtains and turn on all available lights.

The advantage in shooting inanimate objects is you can use low shutter speed.  You need to use a tripod for low shutter speeds.  Lower your ISO. If you’re at 800, try 400 AND lower the shutter speed.  Keep going lower until you achieve the desired photo.  Test test, test.

You can see examples of product photography.

Furniture photo

Sunlight

portrait photography

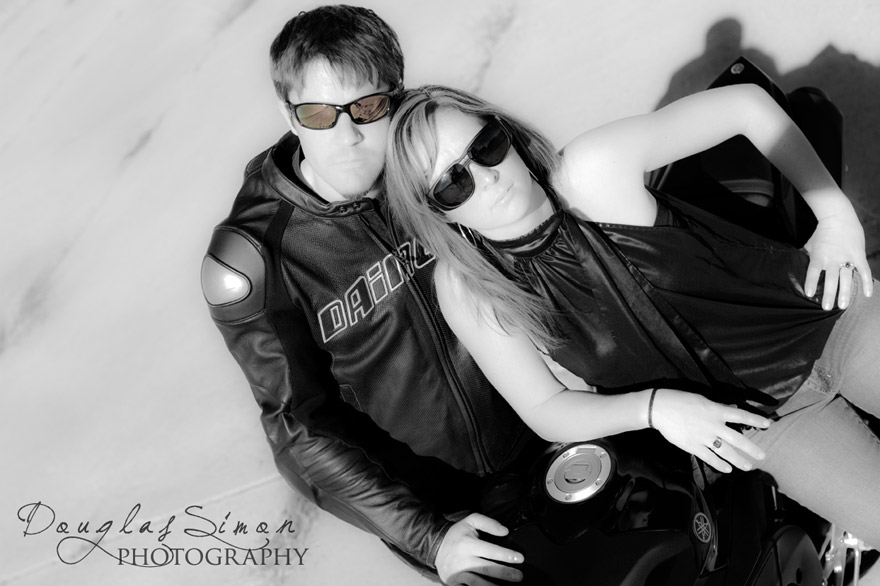
This is a simple shot.  It was thought out prior to being on location.  Even if you don’t have a 35mm wide angle lens, you can apply 2 techniques: sunlight on the faces, and use a short ladder.

It’s the angle which gives this a creative, fresh look.  The color photo was fabulous, but this is where Photoshop is so useful.  Turn the image into black and white, add a hue adjustment layer and mask out everything except for one pair of sunglasses.  Subtle touches make a big statement.  Once, again: it’s about controlling the elements.  Have fun!

Take Better Photos

Not everything in photography has to be expensive.  And the reverse is true – even the best equipment won’t give you excellent photos.

Don’t succumb to the idea: “I’ll fix it in Photoshop”.  Capture the best image – bring it into Photoshop when you’re ready to enhance the photo, or correct a blemish.

It’s about lighting.  The camera sees the light you allow.  If your camera has manual settings you can begin grabbing great shots in a variety of lighting situations.  There are 3 main areas to learn – ISO, aperture and shutter speed.

To begin – play with the ISO.  Set your camera still.  If you have a tripod great – if you have a timer or trigger even better.  Despite how still your hand is even pushing the button will jiggle the camera.  Remove that element.  Begin setting your camera at a low ISO 100 (typically for outdoors).  Take a shot – increase to the next available ISO and continue your testing.  This exercise will open up to you how your camera is processing at these ISOs.

It’s a simple beginning, with you controlling the camera!  Have fun.