How Do I Stage My Product?

Cabin Decor

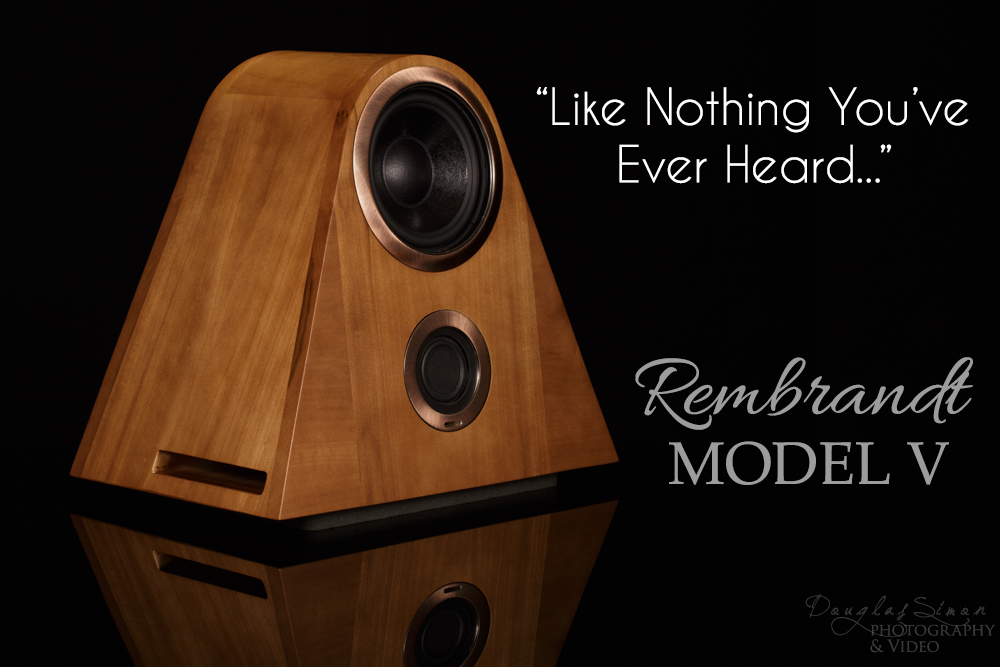
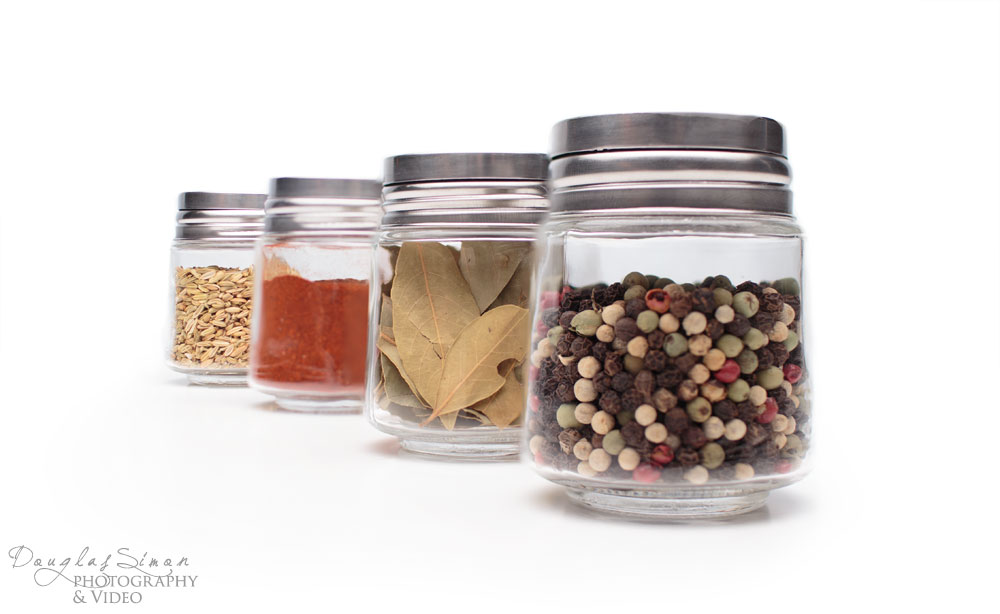
You have a great product and you’ve got your product on white shots, but you need that one great shot-often referred to as a “hero” shot for your Amazon product page. Even with minimal equipment you can maximize your composition to stage your product.

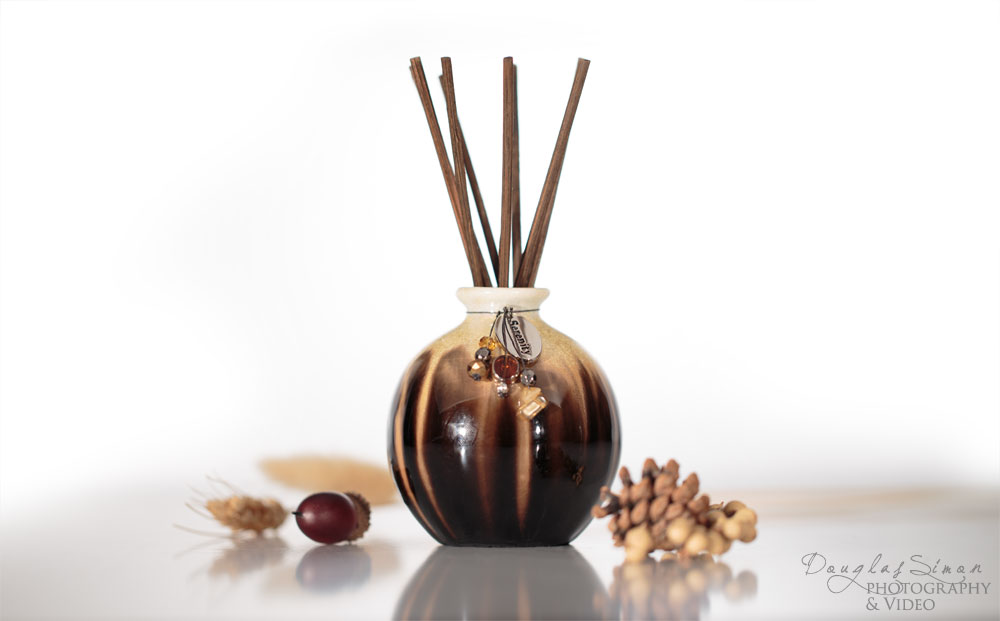
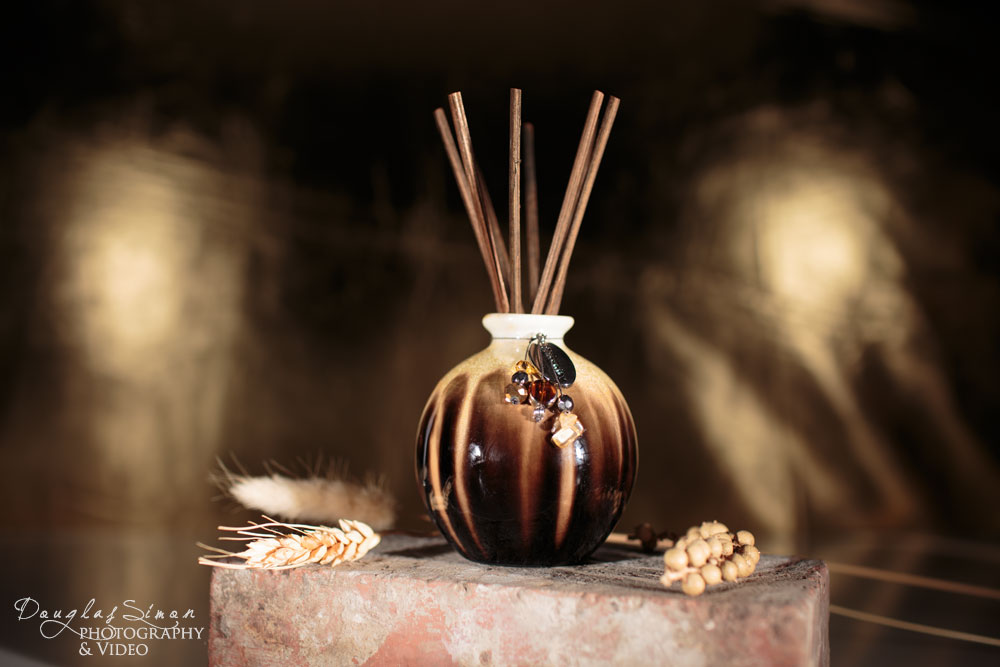
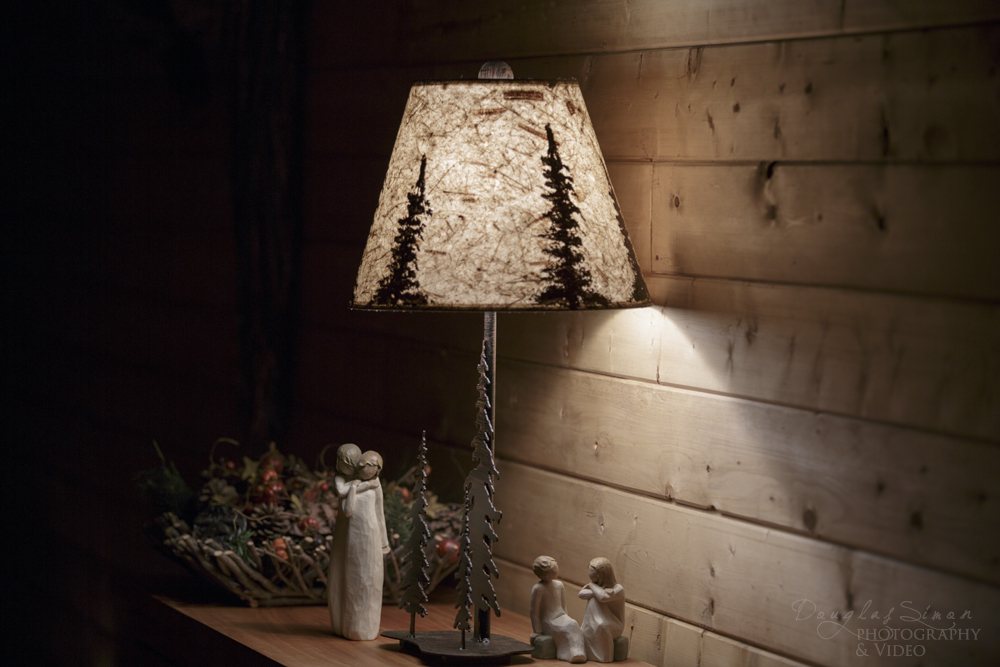
This rustic cabin decor lamp with painted shade and metal art; and small wood carvings against a tongue and groove wood wall serves as the canvas to creating more dramatic photography.  This is your stage and these are the basic elements to arrange as you look for the shot you’re after.  This isn’t about being quick-it takes time and a lot of shots.  Beyond arranging what you see through the lens you’ll change up the shutter speed and focal length for a wide range of variables to find that end shot.

Cabin Decorating Theme
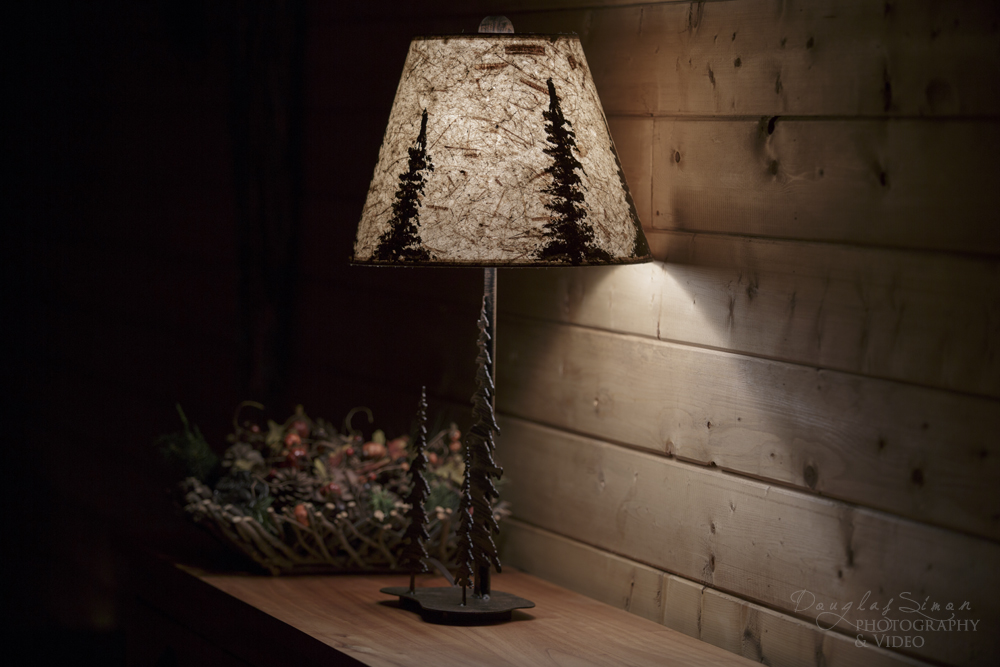
Turns out less is more.Rustic Cabin Hallway
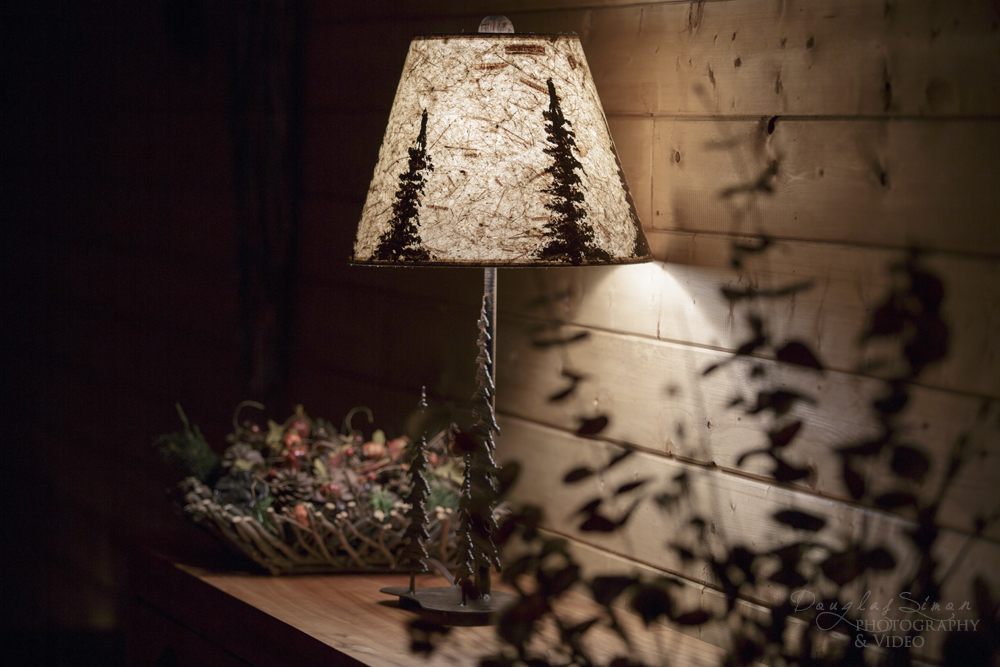
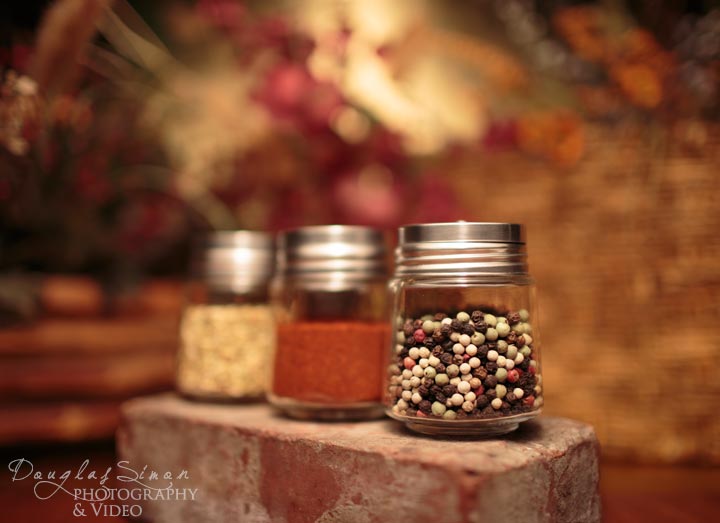
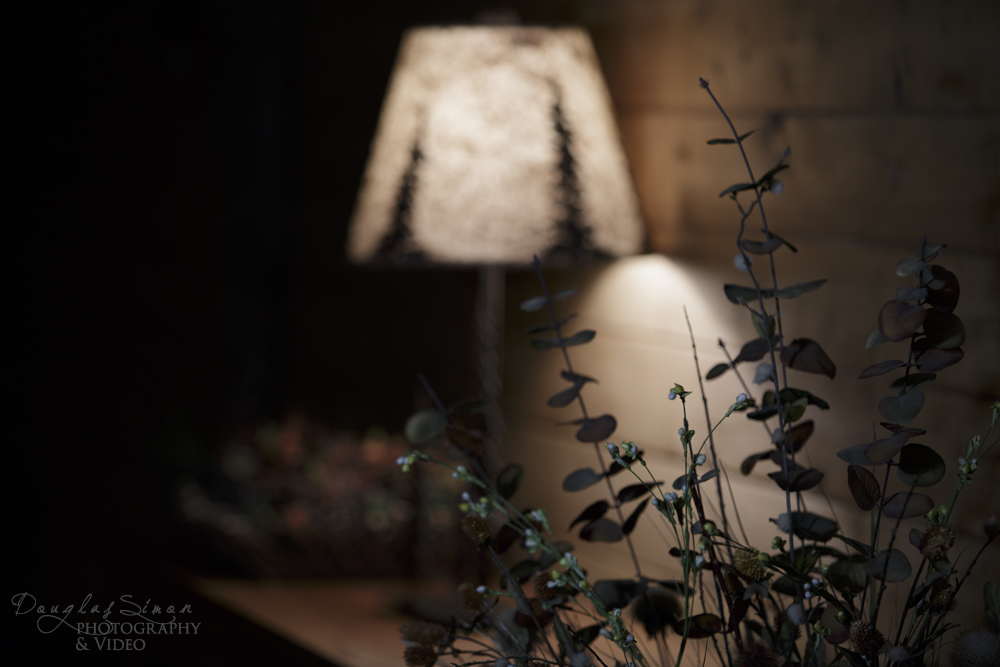
Adding a floral stem to the very foreground adds shadow and depth. The focus is clearly on the cabin lamp with the floral having the bokeh. This is using a very slow shutter speed and wide open aperture (2.8).

Bokeh
Here the focus is reversed-bringing the floral into focus maintaining the same slow shutter speed and aperture. This might work for a backdrop image for marketing text while you still display your product.

Cabin Rustic Decor
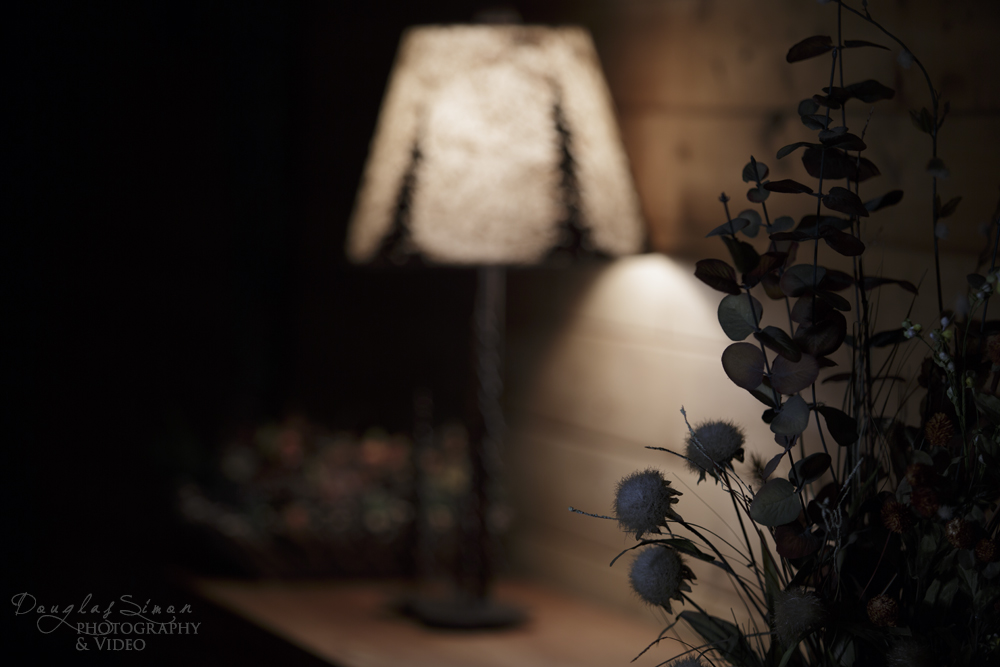
The experimenting continues, same lens settings, but rearranging the floral, playing with the light.  This, too, can be a nice backdrop drawing the eye to the foreground where you might add your marketing message for a website slider.

Rustic Cabin Decor on Tongue and Groove paneling

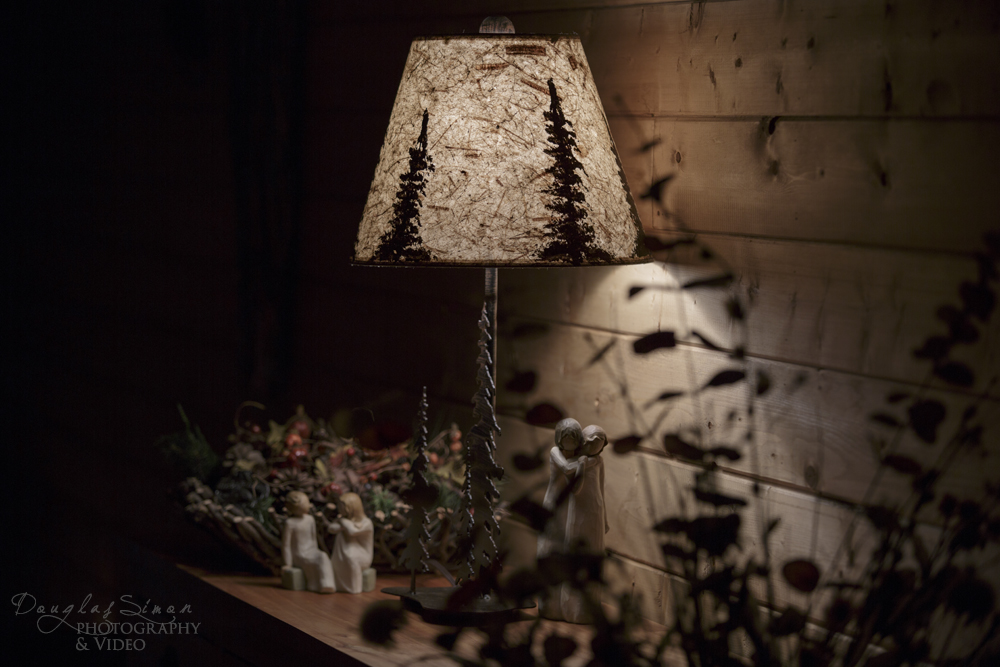
Then often you come full circle to include parts of several variations of your composition. This used the same settings, pulled in the wood carvings and feathered the floral to a wider angle for a beautifully balanced and bokehed rustic cabin decor photograph.  This gives a lovely staging while highlighting the lamp and giving a vision of how it will look and feeling it creates once brought into the buyer’s home.

Canon Lens EF70-200mm f/2.8L USM
Slow Exposure 0.3 seconds
Rotolight to spot

Product on Black Acrylic

Product on Black Acrylic Staged

This innovative speaker design offers stunning sound.  The product photography needed to reflect the mood.

The photographer used two Arri 650T fresnel lights with 300 watt bulbs and two Matthews 48″ x 48″ artificial silk scrims, 1.6 stops.  Also used a Rotolight NEO matching the Arri tungsten temperature for the top of the speaker.
Canon 5D MarkIII
Canon 100mm 2.8 macro lens

We used a sheet of black acrylic to create a classic look.  There is nothing in the background, but shooting at a 9.0 aperture kept the product in sharp focus while turning the background completely black. This shot is straight out of the camera, no Photoshop adjustments or editing.

Speaker on Black

Simple Product Staging on Black Acrylic

The designer requested a size perspective so we added wine glasses for a simple staged product image.

Product Styling

Product Styling
This diffuser product begins with a lush reflective foreground and organic items to complement the style of this product.  Shooting on a specialized surface gives the refection we were after fading into white.  This is achieved by a lot of light precisely directed.
Styled Product Photography
For a dramatic style we pulled in a textured background, a simple brick and keeping our organic theme – a few accents to give this diffuser a new face!

Read more about product styling.

Product Staging

Product on White, Spice Jars
Product on a white background has become the standard for product images.  Whether to use a full shadow, or slight shadow, or no shadow is the next question.  But when you’re ready to show off your product creativity opens a fabulous door.  The above photo of spice jars keeps three of the four jars in focus, with a slight out of focus on the third jar, for a subtle statement.

The next photo is a lovely simple composition, still on white for an open, floating feeling, adding the spoon for a touch of lifestyle.  A subtle product styling idea.
Spice Jars for Product Styling
Still keeping the product styling simple we’ve added an organic feel using wood for the  presentation. These are only a few ways to style your product. Keep your own product as an alternative to stock photography for your website.
Product Styling
Finally adding a full background frames the jars using a brick for strong base statement.  The first jar has the strength and focus, allowing the other jars to become part of the background.  You get the idea of the vast possibilities when you’re ready to take bring your product front and center in your website and promotion.
Product Lifestyle Staging

Portrait Photography on White

Portrait Photography on White Background

This setting was chosen by the photographer to capture the subject, who is an artist, in a pensive mood while she creates.  This brings the focus to the face while keeping the body language central in the composition.

Using a white background for this portrait is all about bathing the subject in translucent white, having her melt into the surrounding white. To achieve this stunning effect requires a wash of light. The photographer used two Paul Buff 86 inch PLM soft silver with diffusion, lighting the sides and background; and a 64 inch PLM in front of the subject.  The light is critical to obtaining this elegant softness of light. This shot required no Photoshop.

Portrait Photographer

Onsite Portrait Photographer

What goes into a portrait photography session?

This is an in-home session.  This small house had no background photographic opportunities.  The photographer created one from a set of window blinds. Despite looking like it was shot at sunset this is a staged shot-manipulating the background.  We created this effect by setting up tungsten lighting outside the window at night.  Adjusting the window shades for the precise bounce of light gave the photographer the control he wanted. Using a handheld flash allowed for exactness in adding the highlights to face and hair. Every angle and tilt of camera complete the composition of the subject.  Once softness and overall look was established to the photographer’s eye the session proceeds with multiple shots.  Finishing touches are completed in Photoshop for facial tone and minor touch-up.

Read more on our website about backgrounds for portraits.