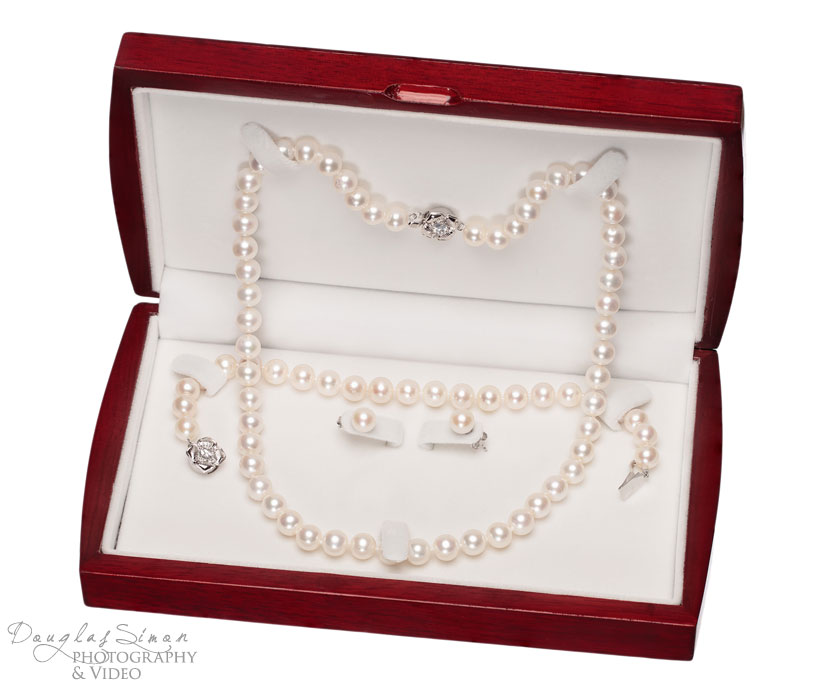
Typically the proper way to shoot a product set up like this is to have 2 separate shots and composite these in Photoshop. It’s impossible to properly exposure for the box and not blow out the white pearls. For this shoot we didn’t have time to remove the pearls as this was rush job. We elevated the camera to a high angle using a macro lens, used an overhead diffused light source with a silk scrim. We used another light source in front – to highlight the front of the box and the top inside of the box. Once we properly exposed the light we stack focused with about 20 shots from top to bottom. We would like the box interior whiter, but couldn’t do it in the time we had, so this shot was usable. Generally these types of jewelry shots require an enormous amount of time get the right lighting with the proper exposure.
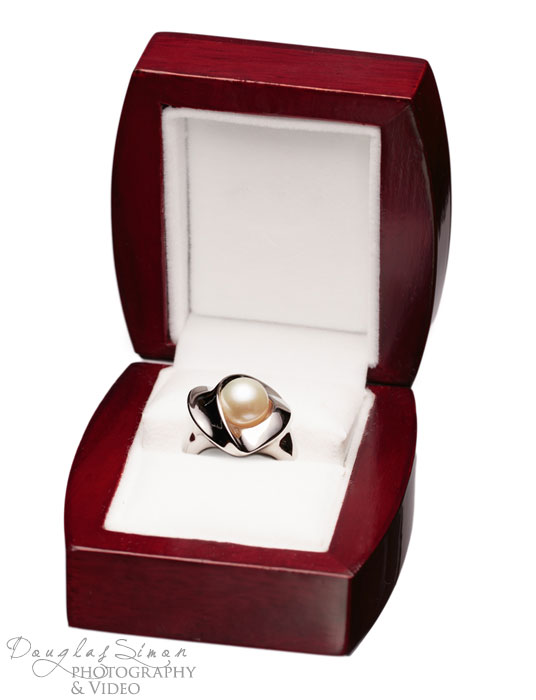
We had enough time to properly execute this shot, which requires two separate set ups. The first setup was to light and properly expose the ring. We only used an overhead light source with a silk scrim for this, stack focusing with about 10 shots using a 2.8 macro lens. For the second setup we removed the ring using three light sources for the outside and inside of the box. We stack focused with about 10 images. In Photoshop we put the two shots together achieving the whiter box interior.

