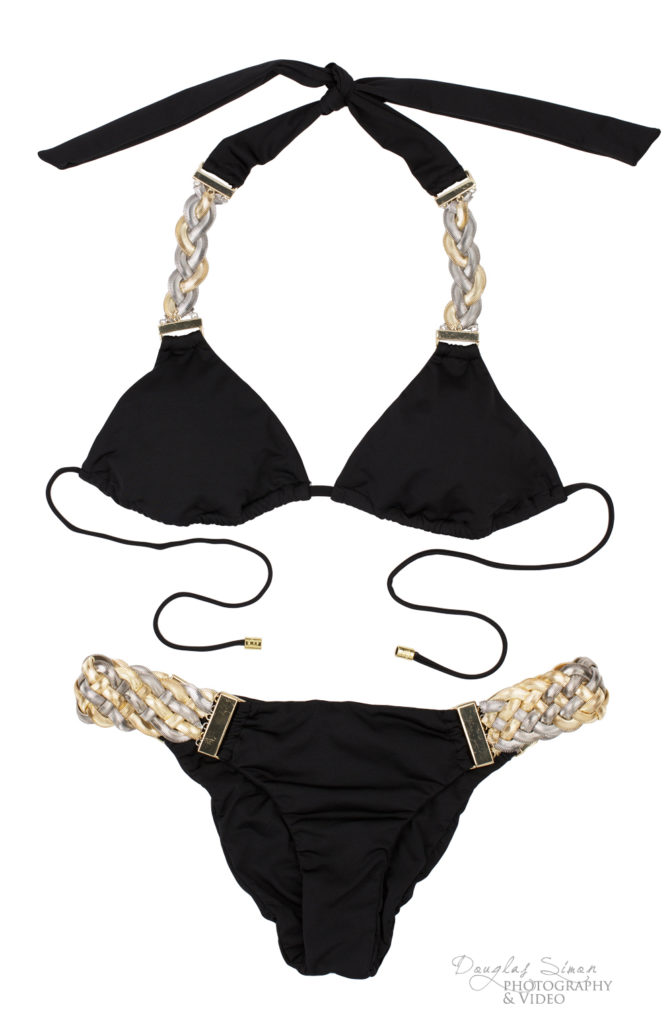
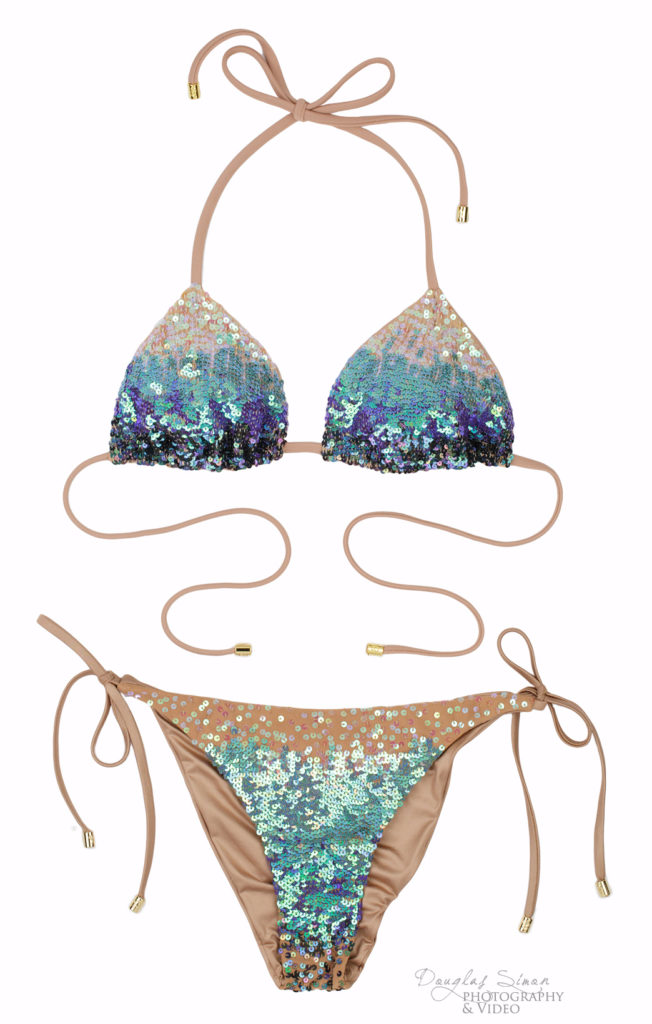
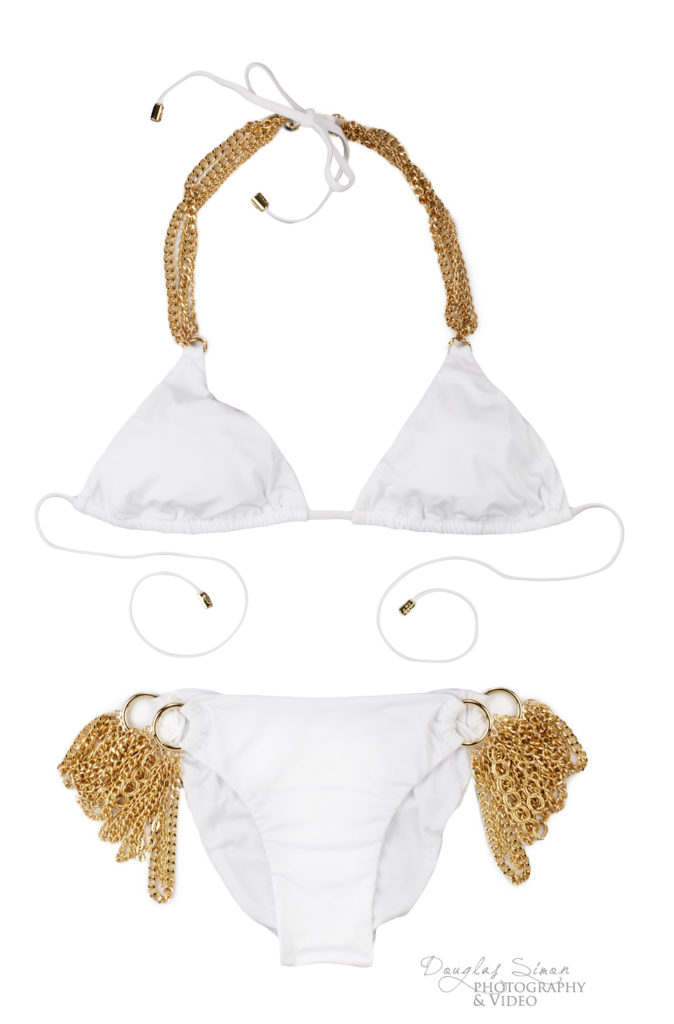
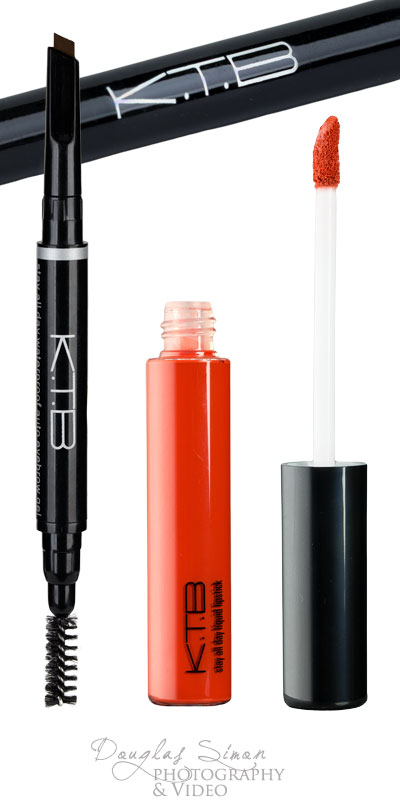
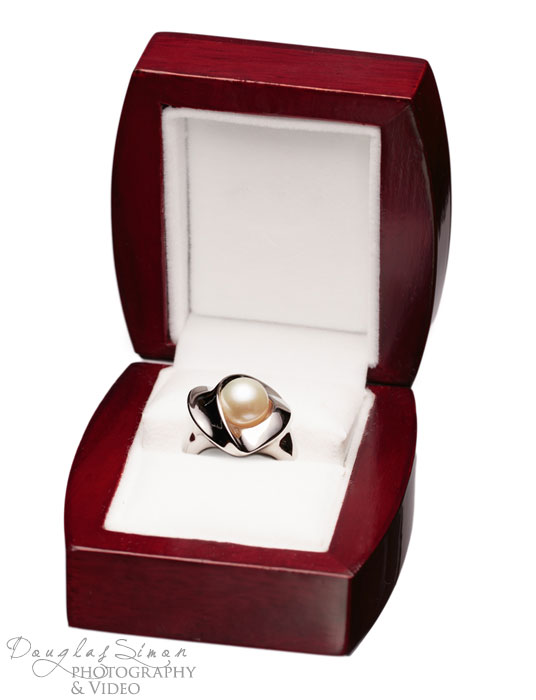
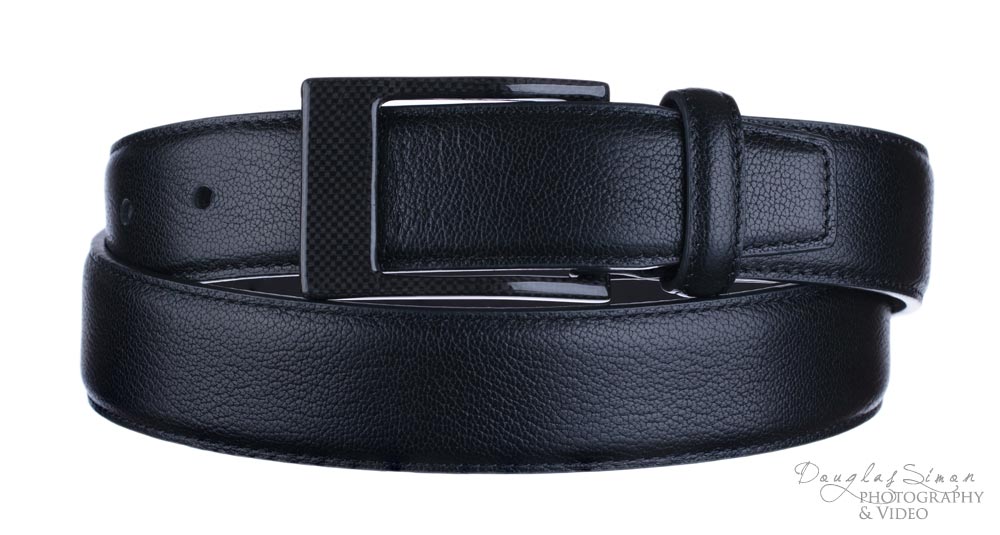
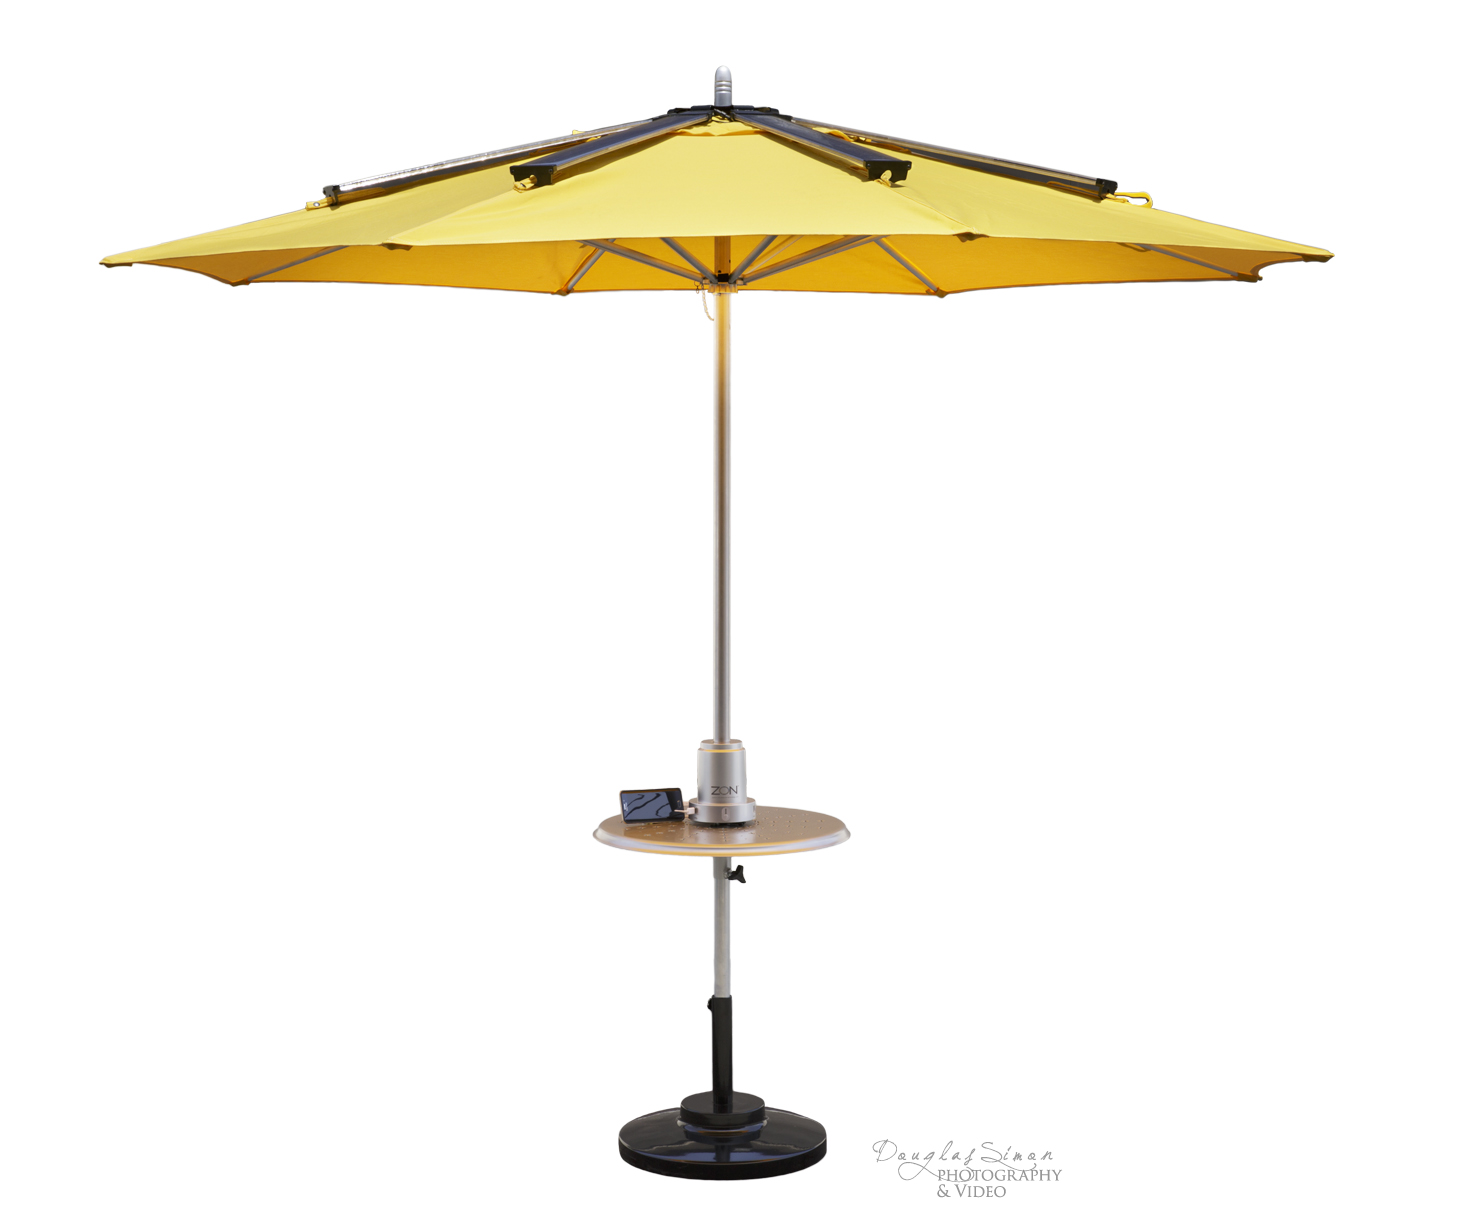
This product photography session was shot outside the manufacturing plant using the brilliant sunlight to work as our soft box. Blocking the light and positioning the full umbrella shot took a great amount of time during which the sun was shifting, but well worth the time. In post we extracted the product for a pure white background product shot. We used Canon’s 24-70mm lens for the top image. The second image (below) was shot with Canon’s 70-200mm lens for a beautiful capture of the tighter shot. We used two 5′ x 5′ Matthews Silks 1.6 stops. One was used to block the sun and one placed behind the product. This is an out of the camera image with no photo editing.
Category Archives: Product on White Photography
Business Photographer in Tucson Arizona
Douglas Simon Photography has relocated to Tucson, Arizona. We’re serving the Tucson and Phoenix area throughout Pima, Maricopa and Cochise counties.
We’ll be continuing to serve our California clients.
Many of our product photography clients are shipping their product lines to us and the rest of the process is the same using email/phone and digital transfer of images. We look forward to continuing our relationship with everyone. Of course, we can handle all your photo editing and composite photography needs.
If you have a need for onsite photography don’t hesitate to call or email with details as we will be returning to Southern California for photo and video sessions.
Please note our NEW phone: 520-367-4402
Our email address hasn’t changed.
We thank you all for your business over the years,
Doug & Brenda
Ph 520.367.4402
PO Box 23181
Tucson, AZ 85724-3181
Flat Lay Product Photographer in Orange County
For flat lay product photography an overhead camera rigging system with an HD monitor gives the Macro lens the flat, level shooting plane for tack sharp focus. We lit using 2 soft boxes and a quarter stop 48 inch scrim with a 3rd flash behind.
The sequins took a bit of light modifying, to maintain the jewel tones without blowing them out. We used foam core to create a box to channel the light.
Flat lay product photography requires one essential tool for setup: pins. Lots of pins, lots of foam-core layers and additional time. Spandex can be a bit of a wrestle due to the elasticity, but pinning does the trick.
Cosmetic Product Photography
What began as 35 cosmetic products turned into a full line of 360 products for a full e-commerce website. Using continuous lighting many shots needed stack focusing to provide crystal clear focus from front to back. We used a Canon 100mm 2.8 macro L lens no more than 1 foot from the product and set the aperture at f8.
To create the shine on the brushes, lipsticks and other reflective products we used a variety of light modifiers (scrims) to create each gradient.
Color matching is always critical for e-commerce and requires special 2 fold attention – lighting the color consistently, then visually matching the product to the screen in post. Though all monitors use RGB, not all monitors will display color the same. Things like graphics card, monitor drivers affect the actual display of color on every device. Despite knowing this shooting the products under strict lighting and visually color matching they will be consistent and you’ll minimize product return headaches when color is part of the buying decision.
See more product photography.
Service Truck on White
What to do with your service truck photo? You spent a great deal of thought and cost in creating your moving billboard – the photo turned out great, next? A slick, clean extraction of your service vehicle is a great advertising tool. You can create beautiful ads by lay text over the image, or drop it into any kind of background. It all begins with getting a properly lit photo. The “magic” lies in the planning. The extraction yields an image easily manipulated in many creative ways. Read more about website photography.
Pearl Jewelry Photography
Typically the proper way to shoot a product set up like this is to have 2 separate shots and composite these in Photoshop. It’s impossible to properly exposure for the box and not blow out the white pearls. For this shoot we didn’t have time to remove the pearls as this was rush job. We elevated the camera to a high angle using a macro lens, used an overhead diffused light source with a silk scrim. We used another light source in front – to highlight the front of the box and the top inside of the box. Once we properly exposed the light we stack focused with about 20 shots from top to bottom. We would like the box interior whiter, but couldn’t do it in the time we had, so this shot was usable. Generally these types of jewelry shots require an enormous amount of time get the right lighting with the proper exposure.
We had enough time to properly execute this shot, which requires two separate set ups. The first setup was to light and properly expose the ring. We only used an overhead light source with a silk scrim for this, stack focusing with about 10 shots using a 2.8 macro lens. For the second setup we removed the ring using three light sources for the outside and inside of the box. We stack focused with about 10 images. In Photoshop we put the two shots together achieving the whiter box interior.
Leather Belt on White Background
Product on white background is the standard today. Minimal stack focusing is needed for this black leather belt leaving the edges slightly out of focus for an attractive image with depth. We used a transparent surface using three studio flashes – one overhead with a silk scrim, two soft boxes on either side with flags to block the light. A white background is lit by one flash meticulously placed, together yielding the pure white background we’re after.