Product on Black Acrylic

Product on Black Acrylic Staged

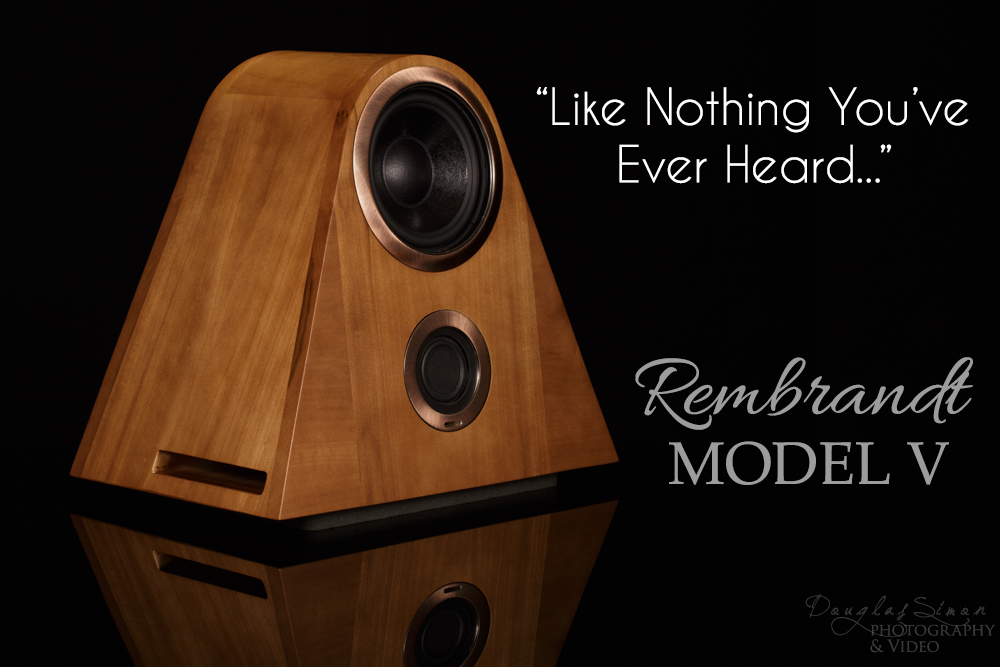
This innovative speaker design offers stunning sound.  The product photography needed to reflect the mood.

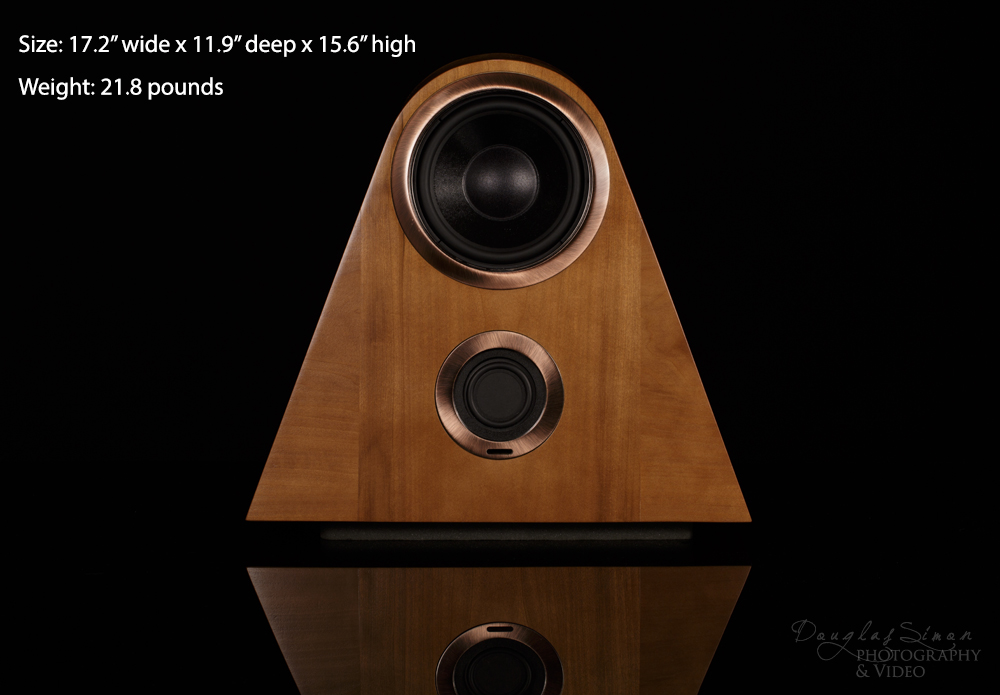
The photographer used two Arri 650T fresnel lights with 300 watt bulbs and two Matthews 48″ x 48″ artificial silk scrims, 1.6 stops.  Also used a Rotolight NEO matching the Arri tungsten temperature for the top of the speaker.
Canon 5D MarkIII
Canon 100mm 2.8 macro lens

We used a sheet of black acrylic to create a classic look.  There is nothing in the background, but shooting at a 9.0 aperture kept the product in sharp focus while turning the background completely black. This shot is straight out of the camera, no Photoshop adjustments or editing.

Speaker on Black

Simple Product Staging on Black Acrylic

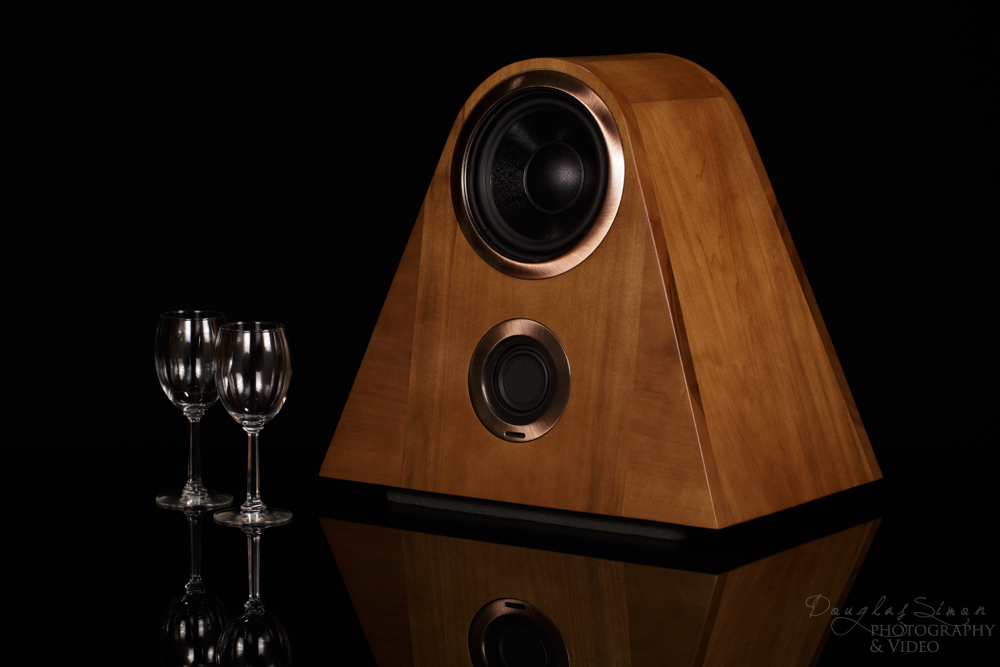
The designer requested a size perspective so we added wine glasses for a simple staged product image.

One Light Portrait

one light portraitThink you need a full studio to take a terrific dramatic portrait?

This is a simple one light portrait, referred to as “Paramount Lighting” (AKA “Butterfly Lighting”).  Paramount Lighting was developed by a photographer at Paramount Studios in the 1930s. It was a dramatic and easy way to take publicity photos of their stars. It was an easy setup and proved to be very dramatic. Read more.

I used a 300 watt daylight fluorescent bulb and a small 16″ square soft-box with one diffuser panel. (No flash, continuous light)  Placed above the camera, pointed at the subject.  Used a tripod.

  • Aperture 2.8
  • Shutter Speed 1/160
  • ISO 640
  • 50mm 1.4 lens

In Photoshop I posterized the background, and saturated the orange decals.

Dog Portrait

PortraitA simple shot:
35mm
Aperture wide open at 1.4
ISO 250
shutter speed 1/125

The dog is napping on the bed. To keep the camera steady I set it on a book.  The biggest challenge was waiting for the moment when the sun came around to the right spot through the window; and of course: trusting the subject would remain still! I chose to blow the shot out – no Photoshopping.

Take Better Photos

Not everything in photography has to be expensive.  And the reverse is true – even the best equipment won’t give you excellent photos.

Don’t succumb to the idea: “I’ll fix it in Photoshop”.  Capture the best image – bring it into Photoshop when you’re ready to enhance the photo, or correct a blemish.

It’s about lighting.  The camera sees the light you allow.  If your camera has manual settings you can begin grabbing great shots in a variety of lighting situations.  There are 3 main areas to learn – ISO, aperture and shutter speed.

To begin – play with the ISO.  Set your camera still.  If you have a tripod great – if you have a timer or trigger even better.  Despite how still your hand is even pushing the button will jiggle the camera.  Remove that element.  Begin setting your camera at a low ISO 100 (typically for outdoors).  Take a shot – increase to the next available ISO and continue your testing.  This exercise will open up to you how your camera is processing at these ISOs.

It’s a simple beginning, with you controlling the camera!  Have fun.